
Are you finding it difficult to integrate your blog or website with HubSpot marketing software? Are you worried that you’ll lose on HubSpot’s inbound marketing capabilities because your website is using Joomla, Drupal or WordPress CMS? Well, if you’ve been asking yourself these questions, then you’ve just landed on the right page.
It’s no secret that the HubSpot’s inbound marketing strategy—which is provided in a marketing software—can help you attract visitors to your website, convert them into leads and eventually persuade them to be your loyal customers. If you have a HubSpot marketing software, then you are assured that you’ll not only have increased online presence but also increased conversion rates from visitors to leads who’ll eventually turn into customers.
Many businesses have used the HubSpot’s inbound marketing strategy to grow their business by turning their websites and blogs into magnets—which engages their prospects with the appropriate landing pages, the calls to action and personalized emails that target the right customers. But here’s the fact: most firms would like to use their own CMS—whether Joomla, Drupal or WordPress—besides the HubSpot’s marketing software even though HubSpot has its own CMS.
So, how do you integrate your HubSpot’s marketing software with Joomla, Drupal, Magento or WordPress blog or website? Good question. In this article, we walk you through the process of linking your blog or website that’s been developed using either with Joomla, Drupal, Magento or WordPress with HubSpot’s marketing software.
But first, let’s understand the basics.
The Basics of Linking HubSpot with CMS’s
If you’re hosting your website or blog using either Joomla, Drupal, Magento or WordPress and you’d like to exploit the advanced analytics that are provided by HubSpot, then you have to install the HubSpot Tracking Code. Ideally, a HubSpot tracking code helps your website or blog to capture the HubSpot analytics that helps you to understand your marketing data better.
In a nutshell the primary aims of this code include:
- Determining how well your website or blog is generating the traffic and the leads.
- What’s required for you can do to improve your website or blog traffic.
- Providing you with erudite lead intelligence that can help you to convert more website leads into loyal customers.
If you’re using either Joomla, Drupal or WordPress website or blog, then you should know how to install this tracking code manually on your website. Here’s how:
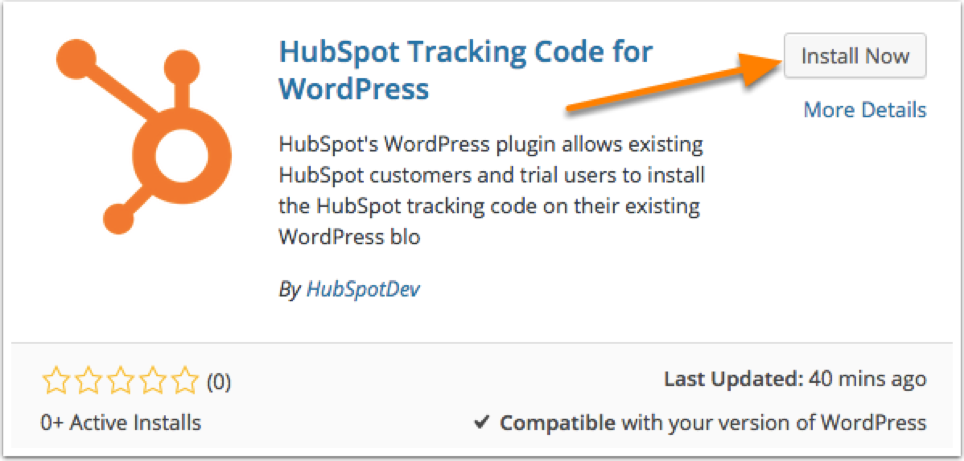
#1: Installing HubSpot Tracking Code on WordPress
It’s the easiest one, just install “HubSpot Tracking Code” plugin.
#2: Installing HubSpot Tracking Code on Joomla
Step 1
Here are the steps that you should follow when installing the HubSpot’s tracking code on Joomla websites:
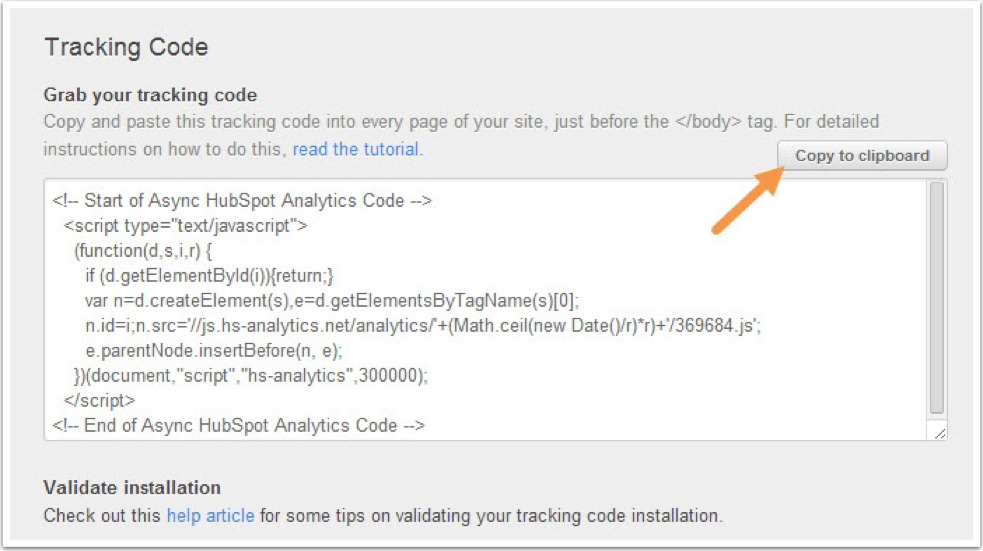
- Begin by copying the HubSpot Tracking Code. For you to copy the HubSpot Tracking code, navigate to the “Reports” menu on your HubSpot software.
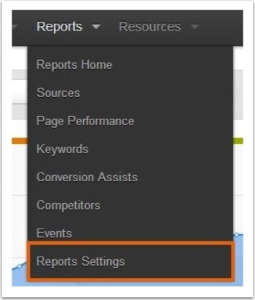

- Click on “Reports Settings”. Next, copy the copy the HubSpot Tracking Code to the clipboard.
Step 2
- Select the option that you’d like to use to integrate your tracking code to your website. Ideally, there are two options that you can use: through the installed Joomla extension and using the “index.php” file.
- If you decide to use the first option—using Joomla extension— then, select the extension of your choice from the Joomla Extension Directory and paste in your HubSpot Tracking Code.
- If you decide to use the “index.php” file option then, log into your Joomla website as an Administrator. Locate the “Extensions” and select the “Template Manager”.
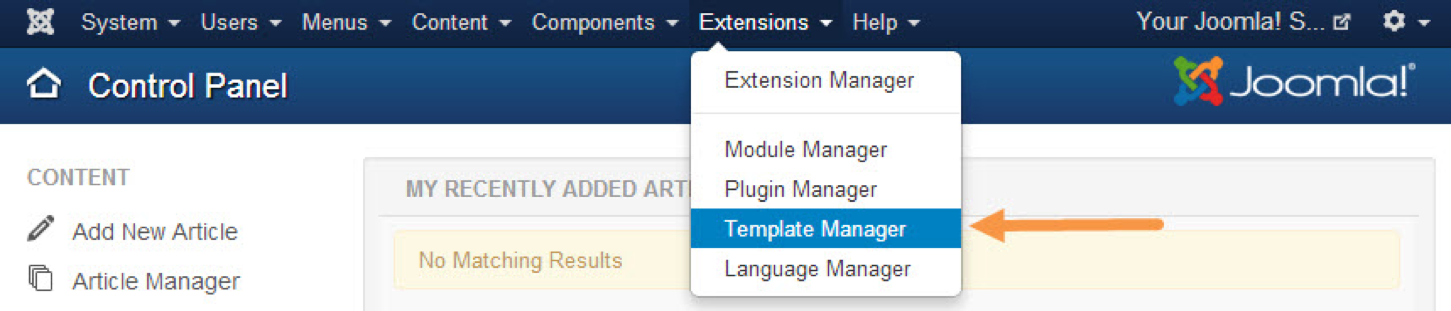
- Toggle the view on “Templates” and select the template of your choice.
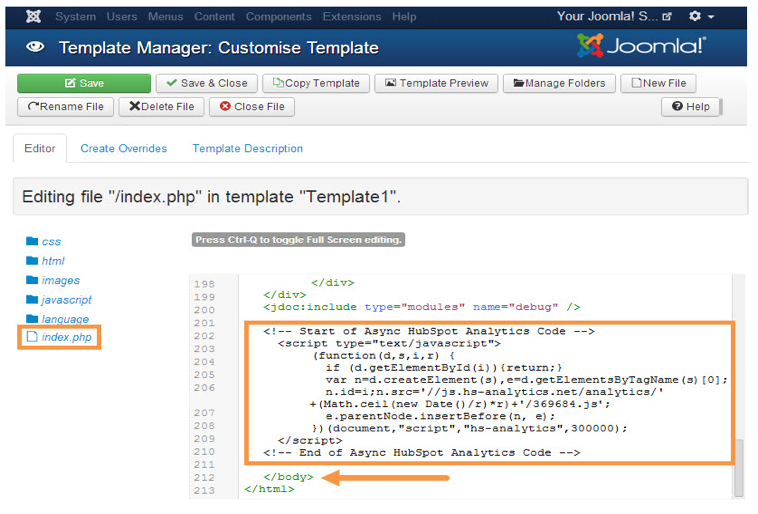
- Don’t forget to save the changes to the “index.php” file.
#3: Installing HubSpot Tracking Code on Drupal websites
Here are the steps that you should follow when installing the HubSpot’s tracking code on Drupal websites:
Step 1
Copy HubSpot Tracking code.
Step 2
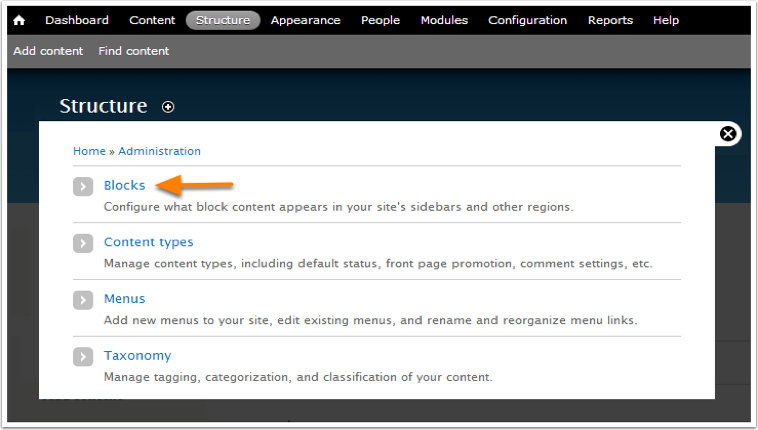
- Log into your Drupal website as an Administrator. On the Administrator’s Dashboard, Click on the “Structure” that’s located in the top menu of the Dashboard.
- Click on the “Blocks”.
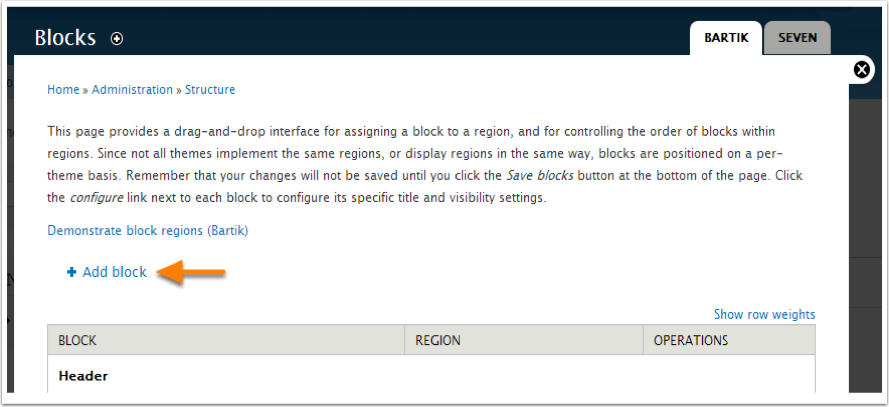
- Click on the “Add Block” link.
- Fill in the following settings for the new block that you’ve just created:
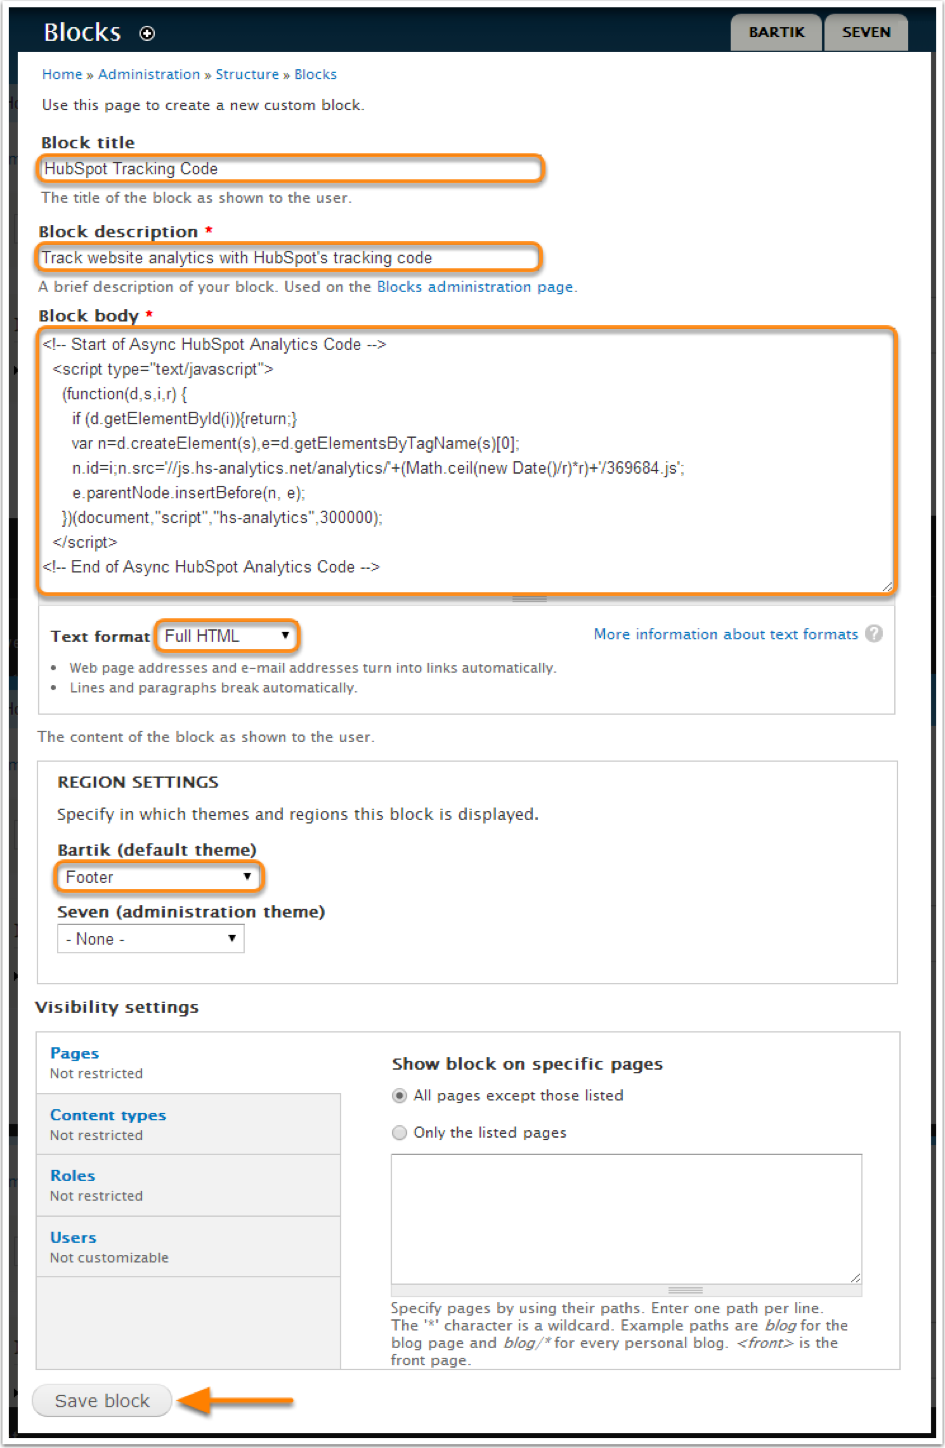
- Block title: Indicate the title of your block.
- Block description. Indicate the description of your block.
- Block body. Here’s is where you paste your HubSpot Tracking Code that you copied to the clipboard above.
- Text format. Select “Full HTML”.
- Region settings: Select ‘Footer’ as your default theme.
- Visibility settings. You can skip this setting.
Well, there you have it. You should be in a position to integrate your HubSpot with any CMS now. Keep us posted. We’ll be happy to respond to your queries.